Garrattfan's Modelrailroading Pages
MDC 3tr Shay
Final assembly
March 25 and 26, 2006
On March 22 a sprayed all painted parts with a semi gloss clear coat. This was the final act of airbrushing on this model. At last I am ready to assemble the whole and see it in its full beauty (that is if...).

The bald frame
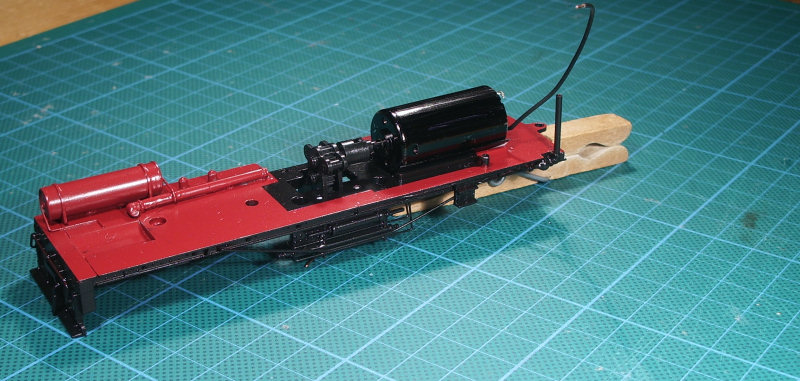
Motor and engine installed. I blackened the motor so it wouldn't be so conspicuously present in the drivers cab
Truck assembled, wipers and wiring installed
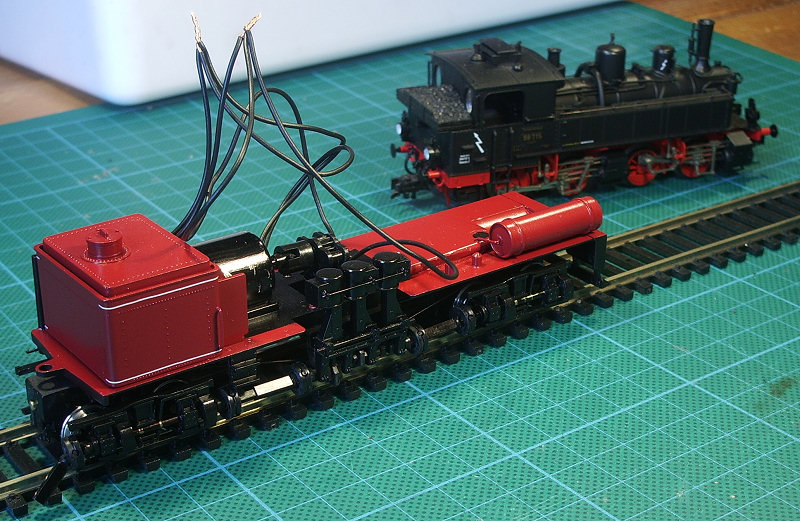
Running test.
First I wanted to assure that the whole mechanism still worked properly after being disassembled and reassembled. It did (phew). Second I wanted to establish the right polarization of the motor. The mallet in the background is a standard factory model. My Shay should run in the same direction given a certain setting of the power. Of course the first time I connected the wires it ran straight the other way (Murphy's law!). Then I cut of the wires to the desired length, soldered them the right way. Another test confirmed the correct operation of the loco.
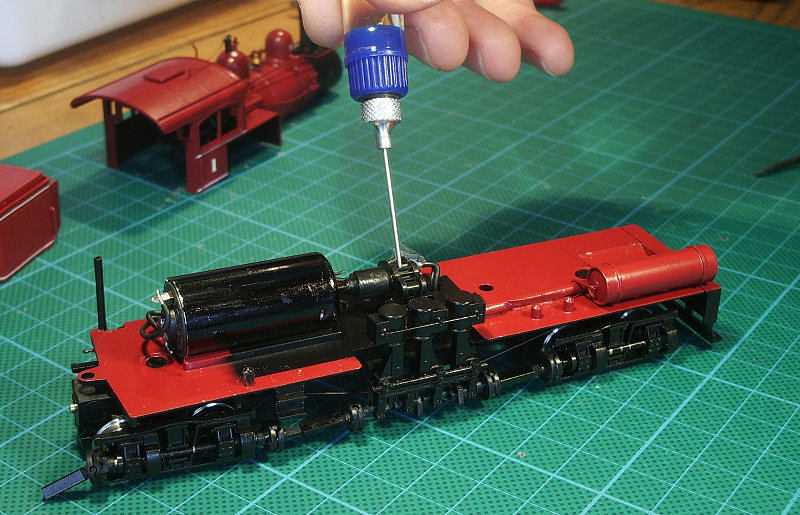
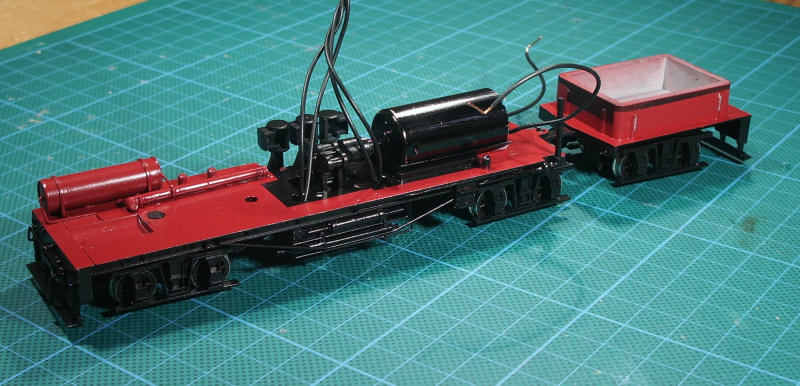
At last, at last it was time to oil the mechanism.
Take your time, don't overdo it but make sure you hit every single point of contact between parts. I counted over fifty!!! After oiling I could finally assemble the superstructure. Actually this is the easiest part.
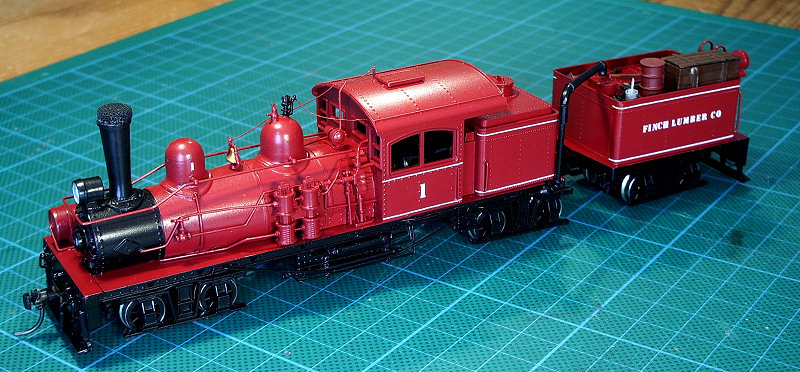
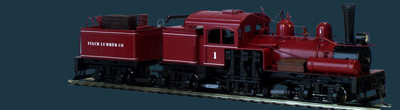
This is the final result. At last I could make the photo's for the gallery of the finished model

Sign my
GuestBook